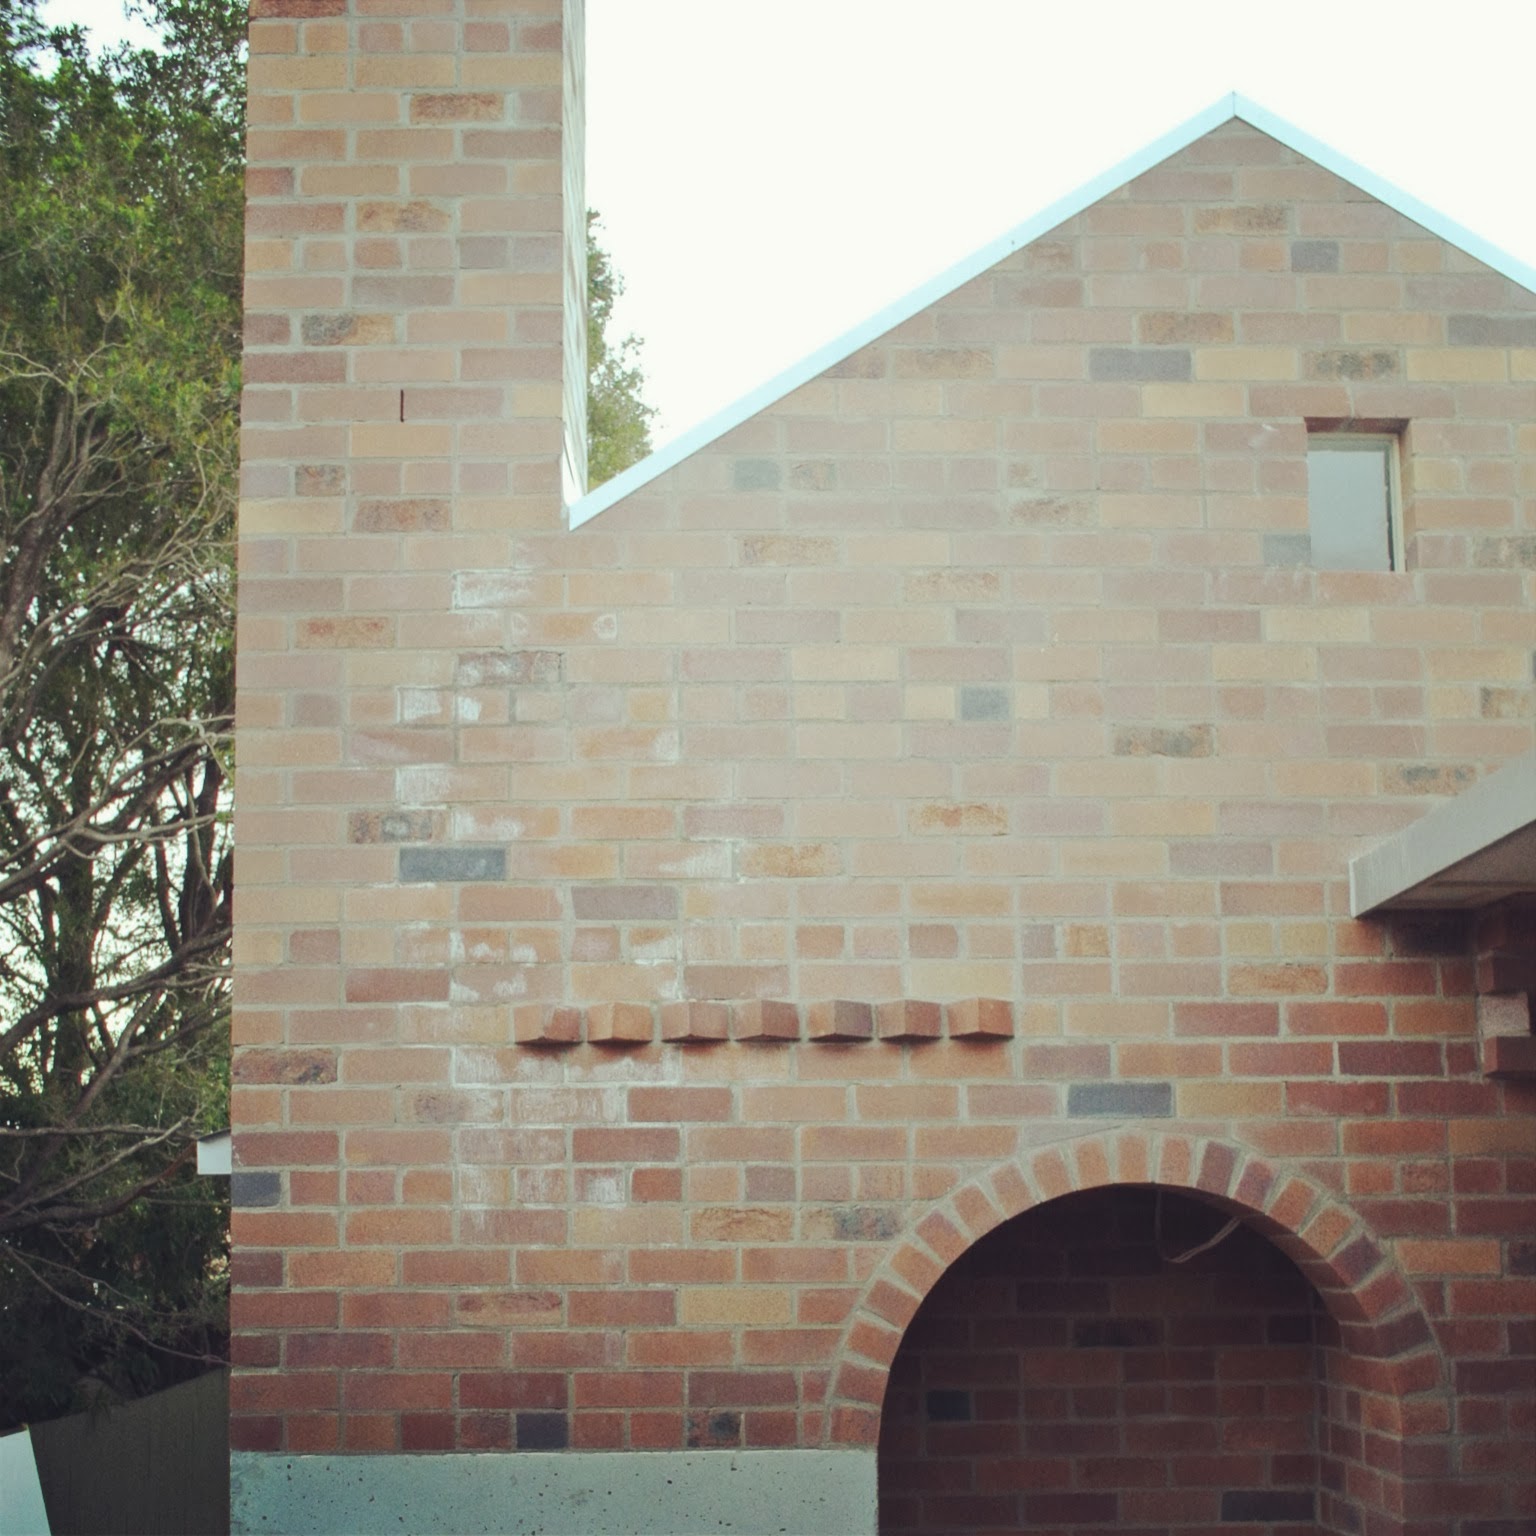
This week was the last working week of the year - the house is almost complete with just some finishing touches left to do. Fortunately some of the tradesmen will be working over the Christmas break so we are still on track to move in by the end of January 2014.
The main focus over the past week has been on the interior - loads of painting, joinery (most of which also requires painting), waterproofing and tiling.
For those who have been following our renovation from the beginning, you will remember that the original specs for the bathroom floors were a pistachio green porcelain tile. However just as we went out to tender I changed my mind - as much as I liked them, I wanted to try something different. I decided that a grey-coloured hexagonal tile would compliment the other finishes and also provide a textural element to the bathrooms. I was always intent on going with a small format tile - I have lost count at how many times the kids have slipped on our large glossy floor tiles in our apartment.
So I narrowed it down to the three mosaic tiles on the top row here: (L) Grigio Marble (Middle) Calacatta Marble (R) Bluestone.
The Grigio Marble is even coloured throughout and could almost pass as a porcelain tile - I felt that each individual tile was a little on the large side and it was the most expensive of the three. The Calacatta Marble is gorgeous but despite the fact that we have marble benchtops in the kitchen, I just wasn't comfortable about using it on the floors particularly as we have four small children. The Bluestone seemed to be the obvious choice, however I felt that the tiles on the sample were a little too small. I ended up ordering custom-made hexagonal mosaics (with skirting tiles to match) which I felt were perfectly sized (the one at the bottom of the photo.)
So how do they look laid on the floors? Just like this:
 |
| Ready to be grouted |
They feel wonderful underfoot and I trust they will stop any more accidental falls. All in all I've got to say I'm very happy with them - I actually like the slight variation in the colour too.
There is a lot to consider when tiling, particularly if you want the tiles to line up with the other architectural elements in the room, but my Tiler is doing a stellar job at ensuring that everything is centred and lines up perfectly:
 |
| The Laser Level does not lie |
The WC (photo above) is now fully tiled. If anyone is wondering, we are using charcoal-coloured grout which make the gloss white subway wall tiles pop. A small timber shelf will be fitted along the top row of wall tiles to finish off the room.
This week I thought it might be fun to show some before and afters (or should I say before and current), so let's start with the Sitting Room:
 |
| Before - it used to be a bedroom |
 |
| Now - Sitting Room |
The sitting room joinery (built-in bookshelves and banquette seat) has been installed and is now ready to be painted. The bookshelf is made up of cupboards, open shelves and an inclined shelf to display our favourite reads. The fabric and foam for the seat cushion has also been ordered and should be ready just in time before move-in day.
This earlier photo taken from the front door shows you just how small the original four-room cottage once was:
 |
| Before - looking toward the back door |
 |
| Now - it's such an unexpected sight, a fireplace at the end of the hall |
The view from the front door leads you straight out onto the terrace (or outdoor room) that is enclosed on three sides.
A rather unusual thing we did with this renovation was to convert the old bathroom into a Living Room (it was a large bathroom by the way.) Basically the whole room was gutted to make for way for a small, but comfortable TV Room:
 |
| Before - the small louvre window was removed |
 |
| Current - a sash window taken from another room was installed |
 |
| Before |
 |
| Current |
This room will be simply furnished with a sofa, armchair and wall mounted TV. We have no need for a TV cabinet - which are usually chunky and take up a lot of room. When it comes to watching movies we either rent or purchase them through iTunes or wirelessly stream DVDs straight from the computer.
And here is the wee little window that sits high in the brick wall above the arch that we have come to call the 'owl hole':
The window, which is roughly the size of a sheet of A4 paper, splays out into the room on the other side. It forms into a large opening situated above the robe in one of the kids' bedrooms:
It's a cool little detail that provides a glimpse of the sky beyond. At night, a light hidden behind a bulkhead in the opening will bathe the 'hole' in light providing indirect lighting for the room.
This will probably be the last Reno post for the year - I'll see you back here in 2014 for the final few weeks.
Have a safe and Happy XMAS. xx